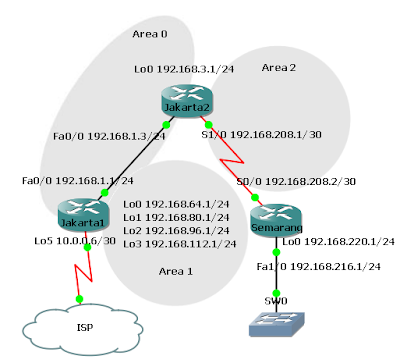
Cisco binary image unpacker
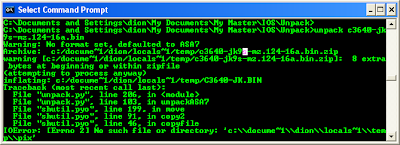
Cisco binary image unpacker is a software that allows you to unpack the IOS and ASA images. Follow this steps to use this software for GNS3. With this way the Router loading process can be faster. This is useful for those of you that do start and stop Router frequently. Donwload Cisco image unpacker 0.1 for Windows. Extract thi zip file to your specific folder.. Copy the IOS file to this folder, for example "c3640-jk9s-mz.124-16a.bin". On windows command prompt, type the following command: "unpack c3640-jk9s-mz.124-16a.bin" (without ""). The output file stored in temporary folder, in my case "C:\Documents and Settings\dion\Local Settings\Temp". Open the folder and you will find the unpacked file "C3640-JK.bin", file size is about twofold. Copy "C3640-JK.bin" to your IOS folder. Your can also rename the file to "c3640-jk9s-mz.124-16a(unpacked).bin" Open GNS3, On the Edit menu, choose IOS image and hyper